Tutorial
1: Data Backup
1.1 Preparing Backup Media
| Hard disks | All available local hard disks are recognized automatically and proposed for backup. To continue with the tutorial you do not need additional backup media. |
| USB flash drive | are great for Private or Install Backup. It is sufficient to plug the USB drive into the PC. This can be done before or after the Private Backup wizard has started. You can use e.g. Secure Digital Memory Cards (SDHC) or MP3 players the same way. |
| Smartphones | often have enough memory to back up an entire Windows® drive. However, data backup is slower than on a hard drive or a USB stick. But a smartphone is always at hand. |
| Connect the smartphone to the PC using a USB cable. A pop-up should appear on the smartphone. |
| Choose file transfer. |
| Network | share the folder "RtArch" (usually C:\RtArch) on the root drive of the target machine for reading and writing. This folder will be created when you install Reuschtools. It contains all the logs and archives. "RtArch" can also be created by hand. Any other folder can be used as a target, of course. Please consult the manual to do so. As searching on the network can be time consuming, the wizards will have it disabled by default. Mark "netcrawling" to search on the network. |
| Cloud | refers to the use of distant computing resources typically accessed over the Internet. Backups in Clouds are often slow and therefore more suitable for smaller data sets. But Clouds are disaster resistant and globally accessible. Using Google Drive requires the installation of the Google Drive software. Private-Backup is prepared to recognize the Google Drive folder. Other vendors, e.g. Strato HiDrive do not need additional software. |
1.2 Backup a Folder
Right-click on a folder or on a drive to open the context menu.
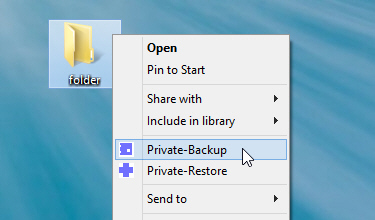
Select Private-Backup and the wizard will appear.
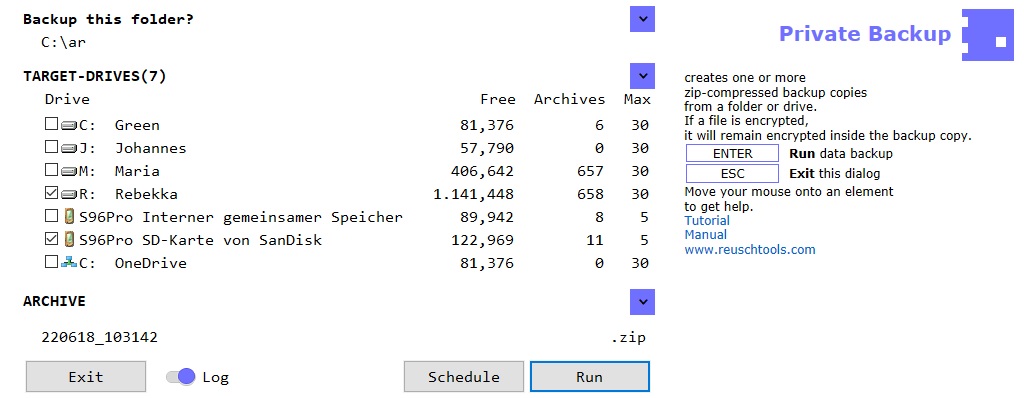
Mark all target drives to use. Multiple drives are allowed! Highlight if possible at least one hard disk and a repeated backup will be faster.
Click Run.
1.3 Backup the Windows® Drive
The entire Windows® drive can be backed up just like a folder. From this backup copy, the running Windows® can be restored later. The backup copy can also create a second Windows® on a drive or a USB stick (Windows to go).
- Open databases are checked, and closed properly.
- The folder C:\RtArch will be excluded. This means, that you can backup a Windows drive C: onto the same drive C:.
Attention, restoring the current Windows®, will also restore personal folders, like Documents. It is therefore often better and more effective to create a System Image with Install Backup.
1.4 EFS Encryption
Encrypting File System (EFS) is the most reliable solution to protect confidental data in Windows® environments. EFS is included in all Windows® Professional versions. The use of EFS on home versions is limited. Read, write and copy operations of encrypted files are allowed, but new files can not be created.
- Transparent, the user is unaware of encryption, except that he needs to enter a password to log into his user account. No additional password is required. Even Cloud backups remain securely ercrypted and transparently at the same time.
- Hardware independent, in conjunction with Reuschtools, encrypted data can be stored on any public place, e.g. the Internet, without the lack of confidentiality. A lost USB stick is protected the same way.
- User-related, even if a computer must be sent to repaire or gets stolen, data remains confidential. Files or folders instead can be assigned to specific individuals who may read or modify data.
Use the Reuschtools CryptManager to encrypt files or folders. The CryptManager also helps to export your private key. Save this in a safe place, because it is required to read files from an encrypted backup on a third-party computer.
Irrespective of whether the EFS encryption switch is on or off, EFS encrypted files will always be encrypted inside the backup.
EFS encryption off:
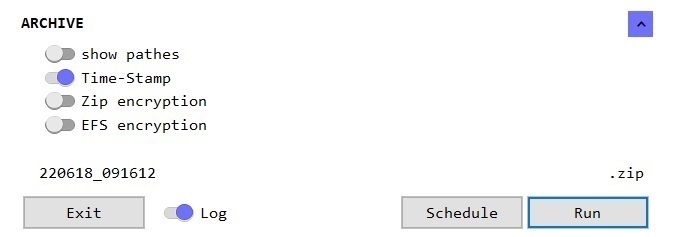
- Each file gets encrypted before it will be stored inside the Zip.
- If a user opens a Zip and clicks onto an encrypted file, he will only read crap.
- Encrypted files cannot be compressed. They require the same space of memory inside the Zip like the original file.
EFS encryption on:
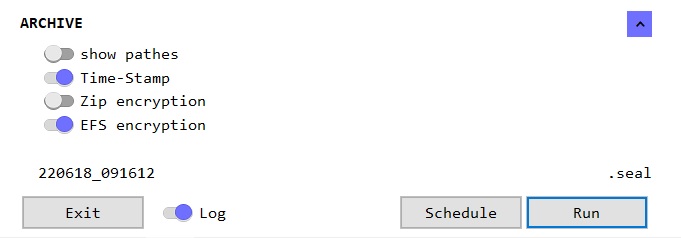
- All files are stored unencrypted inside the Zip but the Zip file itself will be EFS encrypted.
- Transparently, if an authorized user opens a Zip and clicks onto an encrypted file, he will read the file as usual.
- Files are compressed before they are stored in the Zip. As a result, the Zip only requires about 50% of the storage space.
- The Zip file no longer ends with .zip, but with .seal. If an authorized user clicks onto a .seal file, it will be decrypted and opened transparently.
EFS is only as secure as the user account password. Lock your user account (Windows® key + L) whenever you leave the computer.
1.5 Zip Encryption
EFS encryption is limited on Windows® Home versions. In order to create encrypted backups you can switch Zip encryption on. When you start the backup you will be asked for the password.
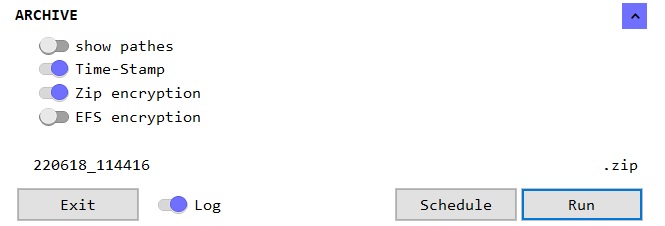
Zip encryption is only as secure as your password. Use a secure password with at least 12 characters. Otherwise the encryption can be cracked quickly (www.elcomsoft.com).
1.6 The Log
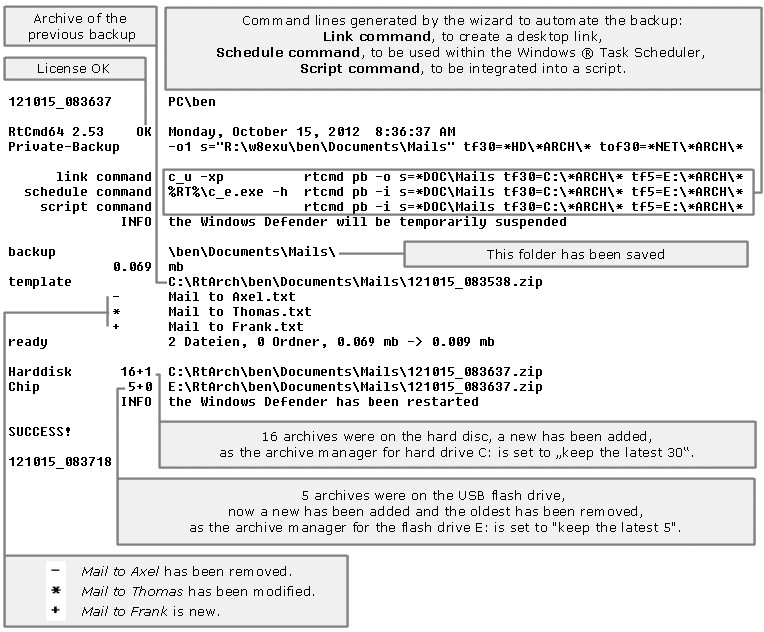
With the help of the Log you will find out whether a file has been changed or if it has been deleted. The Log will also show the drives on which the backups are stored.
- The backup will always contain the complete content of the selected folder or drive. The Log instead will only show changes compared to the previous backup.
- Windows® uses aliases for certain folders. The Documents folder e.g. is displayed as Dokumente in the German version of Windows®. The Log instead will show the real name which is Documents.
The log can be displayed with the Log button.
2: Data Restore
2.1 Restoring a folder
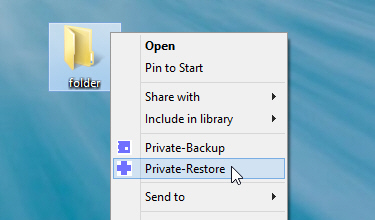
Right click on a folder to open its context menu and select Private-Restore.
The wizard will start and show a chronological list with all Zips that match to the selected folder.
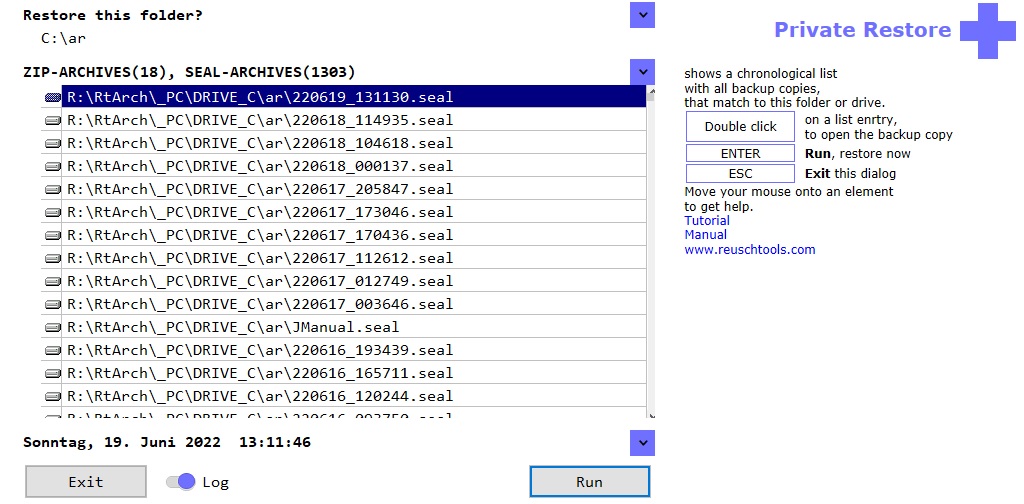
A Double click will open a Zip and you can read or copy individual files.
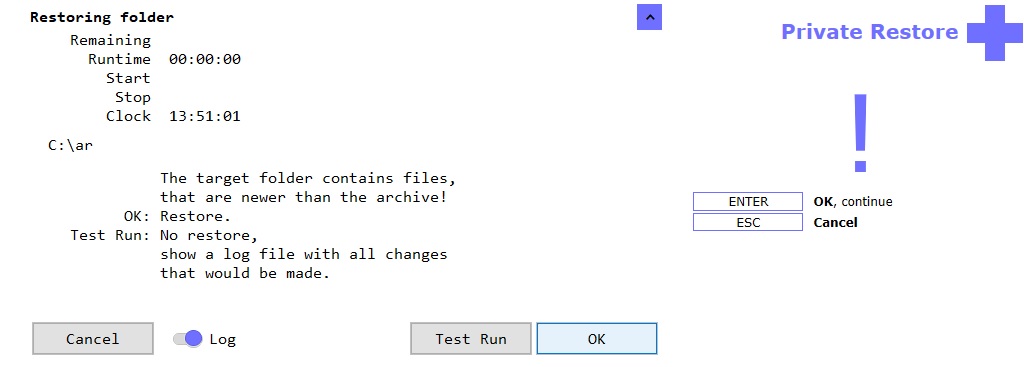
Select a Zip and click Run to restore the folder. But don't worry, if the destination folder contains newer files than the Zip, you will be asked if you want to do a test run. A log will be created which will show all planned changes but nothing will be implemend.
2.2 Import a Zip into a new folder
- Create a new folder with a right-click onto the background and with New->Folder.
- Open the Private Restore wizard with this folder.
- Apply the list all backups switch to list all backups, even if they do not match to this folder.
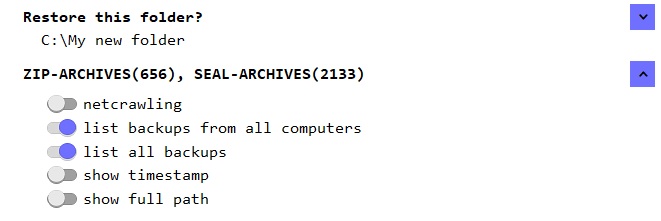
Select a Zip and click Run to start the Import.
3: System Image
3.1 Why do I need this?
Let's assume your printer worked perfectly yesterday. But today nothing works, and the printer does not report any errors either. There are now two options:
- Hardware, often there are some cables that are not plugged in properly. The printer can also be defective.
- Software, maybe a colleague, or maybe you changed something unintentionally. However, it could also be a program that is the cause of the problem.
Before you get down on your knees under your desk to check the hardware, you should be absolutely sure that the problem isn't a software issue.
Time to restore your System Image. If few changes have been made since the last restore, the process will take less than 1 minute.
Besides this simple example, there are many reasons for a disaster recovery:
- A possible virus or trojan
- A program was installed but should not remain permanently on the PC.
- The PC slows down because the registry has bloated and many temporary files have accumulated.
3.2 Create or update System Image
A System Image will contain:
- Windows® with all personalized settings
- Software
- Settings such as Wi-Fi and printer configuration
- Passwords saved by the user
A System Image does not contain the content of the user folders:
- Documents
- Desktop
- Downloads
- Pictures
- Music
- Videos
The advantage is that a System Image can be quickly restored without changing the contents of user folders.
Start Reuschtools and click Create or update System Image to open the Install Backup Wizard.
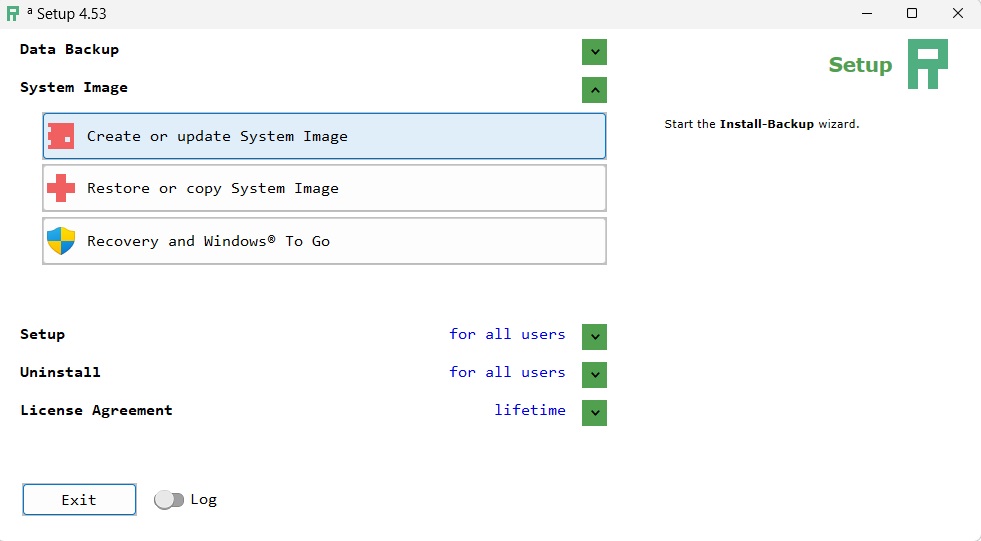
If possible, mark at least one hard disk, then a repeated System Image backup will be faster. Updating a System Image will take less than 5 minutes.
3.3 Restoring System Image
Select Restore or copy System Image to start the Install Restore wizard. After clicking Run, Windows®, programs and settings are restored to the time of the System Image backup. Data folders remain unaffected. A restart will be required after completion.
There is a second way to restore a System Image. Reuschtools offers an independent Recovery Environment. This allows Windows® to be repaired even if it cannot start. Another advantage is that Windows® remains shut down and disconnected from the Internet during the restore operation. To prepare and start the Recovery, select Recovery and Windows® To Go.
3.4 Copy System Image, Windows® to go
Start the Install Restore Wizard with Restore or copy System Image. Now select the drive on which Windows® is to be restored. The drive can also be a USB stick (Windows® To Go).
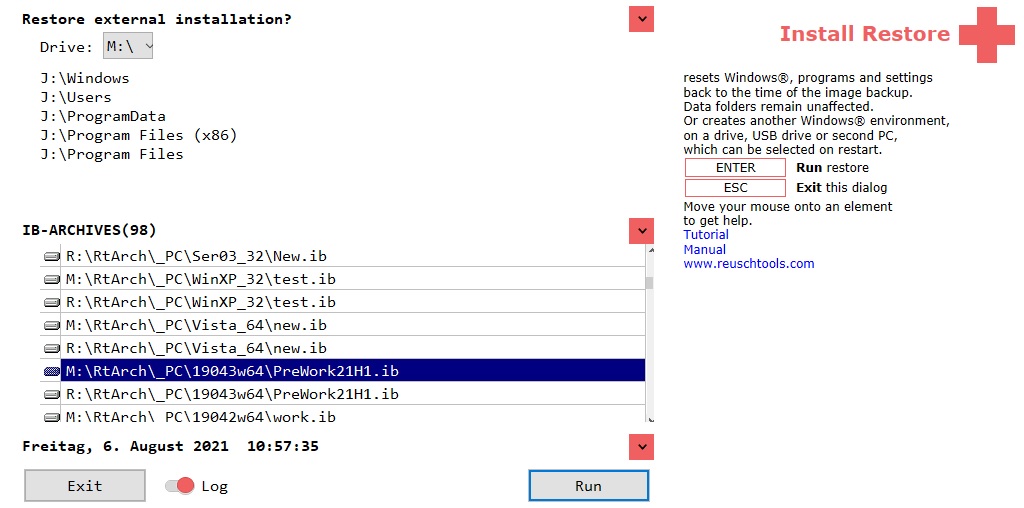
Modern Windows® systems check the digital signature of a file before starting it (Secure Boot). This locks out malware. Many PCs require a special disk layout (GPT) to use Secure Boot. GPT should therefore be used so that a Windows® to go can start on different PCs. Select Recovery and Windows® To Go to prepare a USB stick for GPT.
After successful recovery, Windows® can be started from the new drive. Press the Shift key while restarting the computer. This is how you get to the selection menu. It's even easier with the hotkey Alt Gr W (Reuschtools->Setup->Hotkeys->Windows to go).
